Want to build a sports scoreboard for your website or app? This tutorial walks you through creating an NFL scoreboard viewer using React, TypeScript, and the BALLDONTLIE API. You'll learn how to fetch real-time NFL game data, display live scores, and filter games by week for the 2025 NFL season.
Whether you're building a fantasy football companion app, a sports betting dashboard, or just want to track NFL scores programmatically, this guide covers everything you need to get started with sports data APIs.
New to the API? Start with our Getting Started guide first to set up your account and API key.
What We're Building
A single-page React app that:
- Fetches NFL games and scores from the BALLDONTLIE sports API
- Displays live game scores with team names and venues
- Lets users filter games by week (weeks 1-18 for the regular season)
- Shows game status (scheduled, in progress, or final)
Prerequisites
- Node.js 18 or higher
- A BALLDONTLIE API key (get one at app.balldontlie.io)
- Basic familiarity with React and TypeScript
Step 1: Create the Project
We'll use Vite to scaffold a React TypeScript project, then add Chakra UI for styling:
npm create vite@latest nfl-scoreboard -- --template react-ts
cd nfl-scoreboard
npm install
npm install @chakra-ui/react @emotion/react @emotion/styled
Step 2: Set Up the Provider
Update src/main.tsx to wrap your app with the Chakra provider:
import { StrictMode } from "react";
import { createRoot } from "react-dom/client";
import { ChakraProvider, defaultSystem } from "@chakra-ui/react";
import App from "./App.tsx";

createRoot(document.getElementById("root")!).render(
  <StrictMode>
    <ChakraProvider value={defaultSystem}>
      <App />
    </ChakraProvider>
  </StrictMode>
);
Step 3: Define the Types
The BALLDONTLIE API returns structured JSON with nested team objects. Add these TypeScript interfaces to the top of src/App.tsx:
interface Team {
  id: number;
  conference: string;
  division: string;
  location: string;
  name: string;
  full_name: string;
  abbreviation: string;
}

interface Game {
  id: number;
  visitor_team: Team;
  home_team: Team;
  summary: string;
  venue: string;
  week: number;
  date: string;
  season: number;
  postseason: boolean;
  status: string;
  home_team_score: number;
  home_team_q1: number | null;
  home_team_q2: number | null;
  home_team_q3: number | null;
  home_team_q4: number | null;
  home_team_ot: number | null;
  visitor_team_score: number;
  visitor_team_q1: number | null;
  visitor_team_q2: number | null;
  visitor_team_q3: number | null;
  visitor_team_q4: number | null;
  visitor_team_ot: number | null;
}

interface GamesResponse {
  data: Game[];
  meta: {
    next_cursor: number | null;
    per_page: number;
  };
}
These types match the response from GET /nfl/v1/games. The API provides quarter-by-quarter scores, overtime scores, and full team details including conference and division.
Step 4: Build the Game Card Component
Create a component that displays a single game's score. This goes in src/App.tsx:
import {
  Box,
  VStack,
  HStack,
  Card,
  Text,
  Badge,
} from "@chakra-ui/react";

function GameCard({ game }: { game: Game }) {
  const isFinished = game.status === "Final";
  const homeWon = game.home_team_score > game.visitor_team_score;
  const awayWon = game.visitor_team_score > game.home_team_score;

  const formatDate = (dateStr: string) => {
    const date = new Date(dateStr);
    return date.toLocaleDateString("en-US", {
      weekday: "short",
      month: "short",
      day: "numeric",
      hour: "numeric",
      minute: "2-digit",
    });
  };

  return (
    <Card.Root width="100%" bg="gray.800" borderColor="gray.700">
      <Card.Body>
        <VStack gap={3} align="stretch">
          <HStack justify="space-between">
            <Text fontSize="sm" color="gray.400">
              {formatDate(game.date)}
            </Text>
            <Badge colorPalette={isFinished ? "green" : "blue"}>
              {game.status}
            </Badge>
          </HStack>

          <HStack justify="space-between" align="center">
            <VStack align="start" gap={0}>
              <Text
                fontWeight={awayWon && isFinished ? "bold" : "normal"}
                fontSize="lg"
                color="white"
              >
                {game.visitor_team.abbreviation}
              </Text>
              <Text fontSize="xs" color="gray.400">
                {game.visitor_team.full_name}
              </Text>
            </VStack>
            <Text fontSize="2xl" fontWeight="bold" color="white">
              {game.visitor_team_score}
            </Text>
          </HStack>

          <HStack justify="space-between" align="center">
            <VStack align="start" gap={0}>
              <Text
                fontWeight={homeWon && isFinished ? "bold" : "normal"}
                fontSize="lg"
                color="white"
              >
                {game.home_team.abbreviation}
              </Text>
              <Text fontSize="xs" color="gray.400">
                {game.home_team.full_name}
              </Text>
            </VStack>
            <Text fontSize="2xl" fontWeight="bold" color="white">
              {game.home_team_score}
            </Text>
          </HStack>

          <Text fontSize="xs" color="gray.500">
            {game.venue}
          </Text>
        </VStack>
      </Card.Body>
    </Card.Root>
  );
}
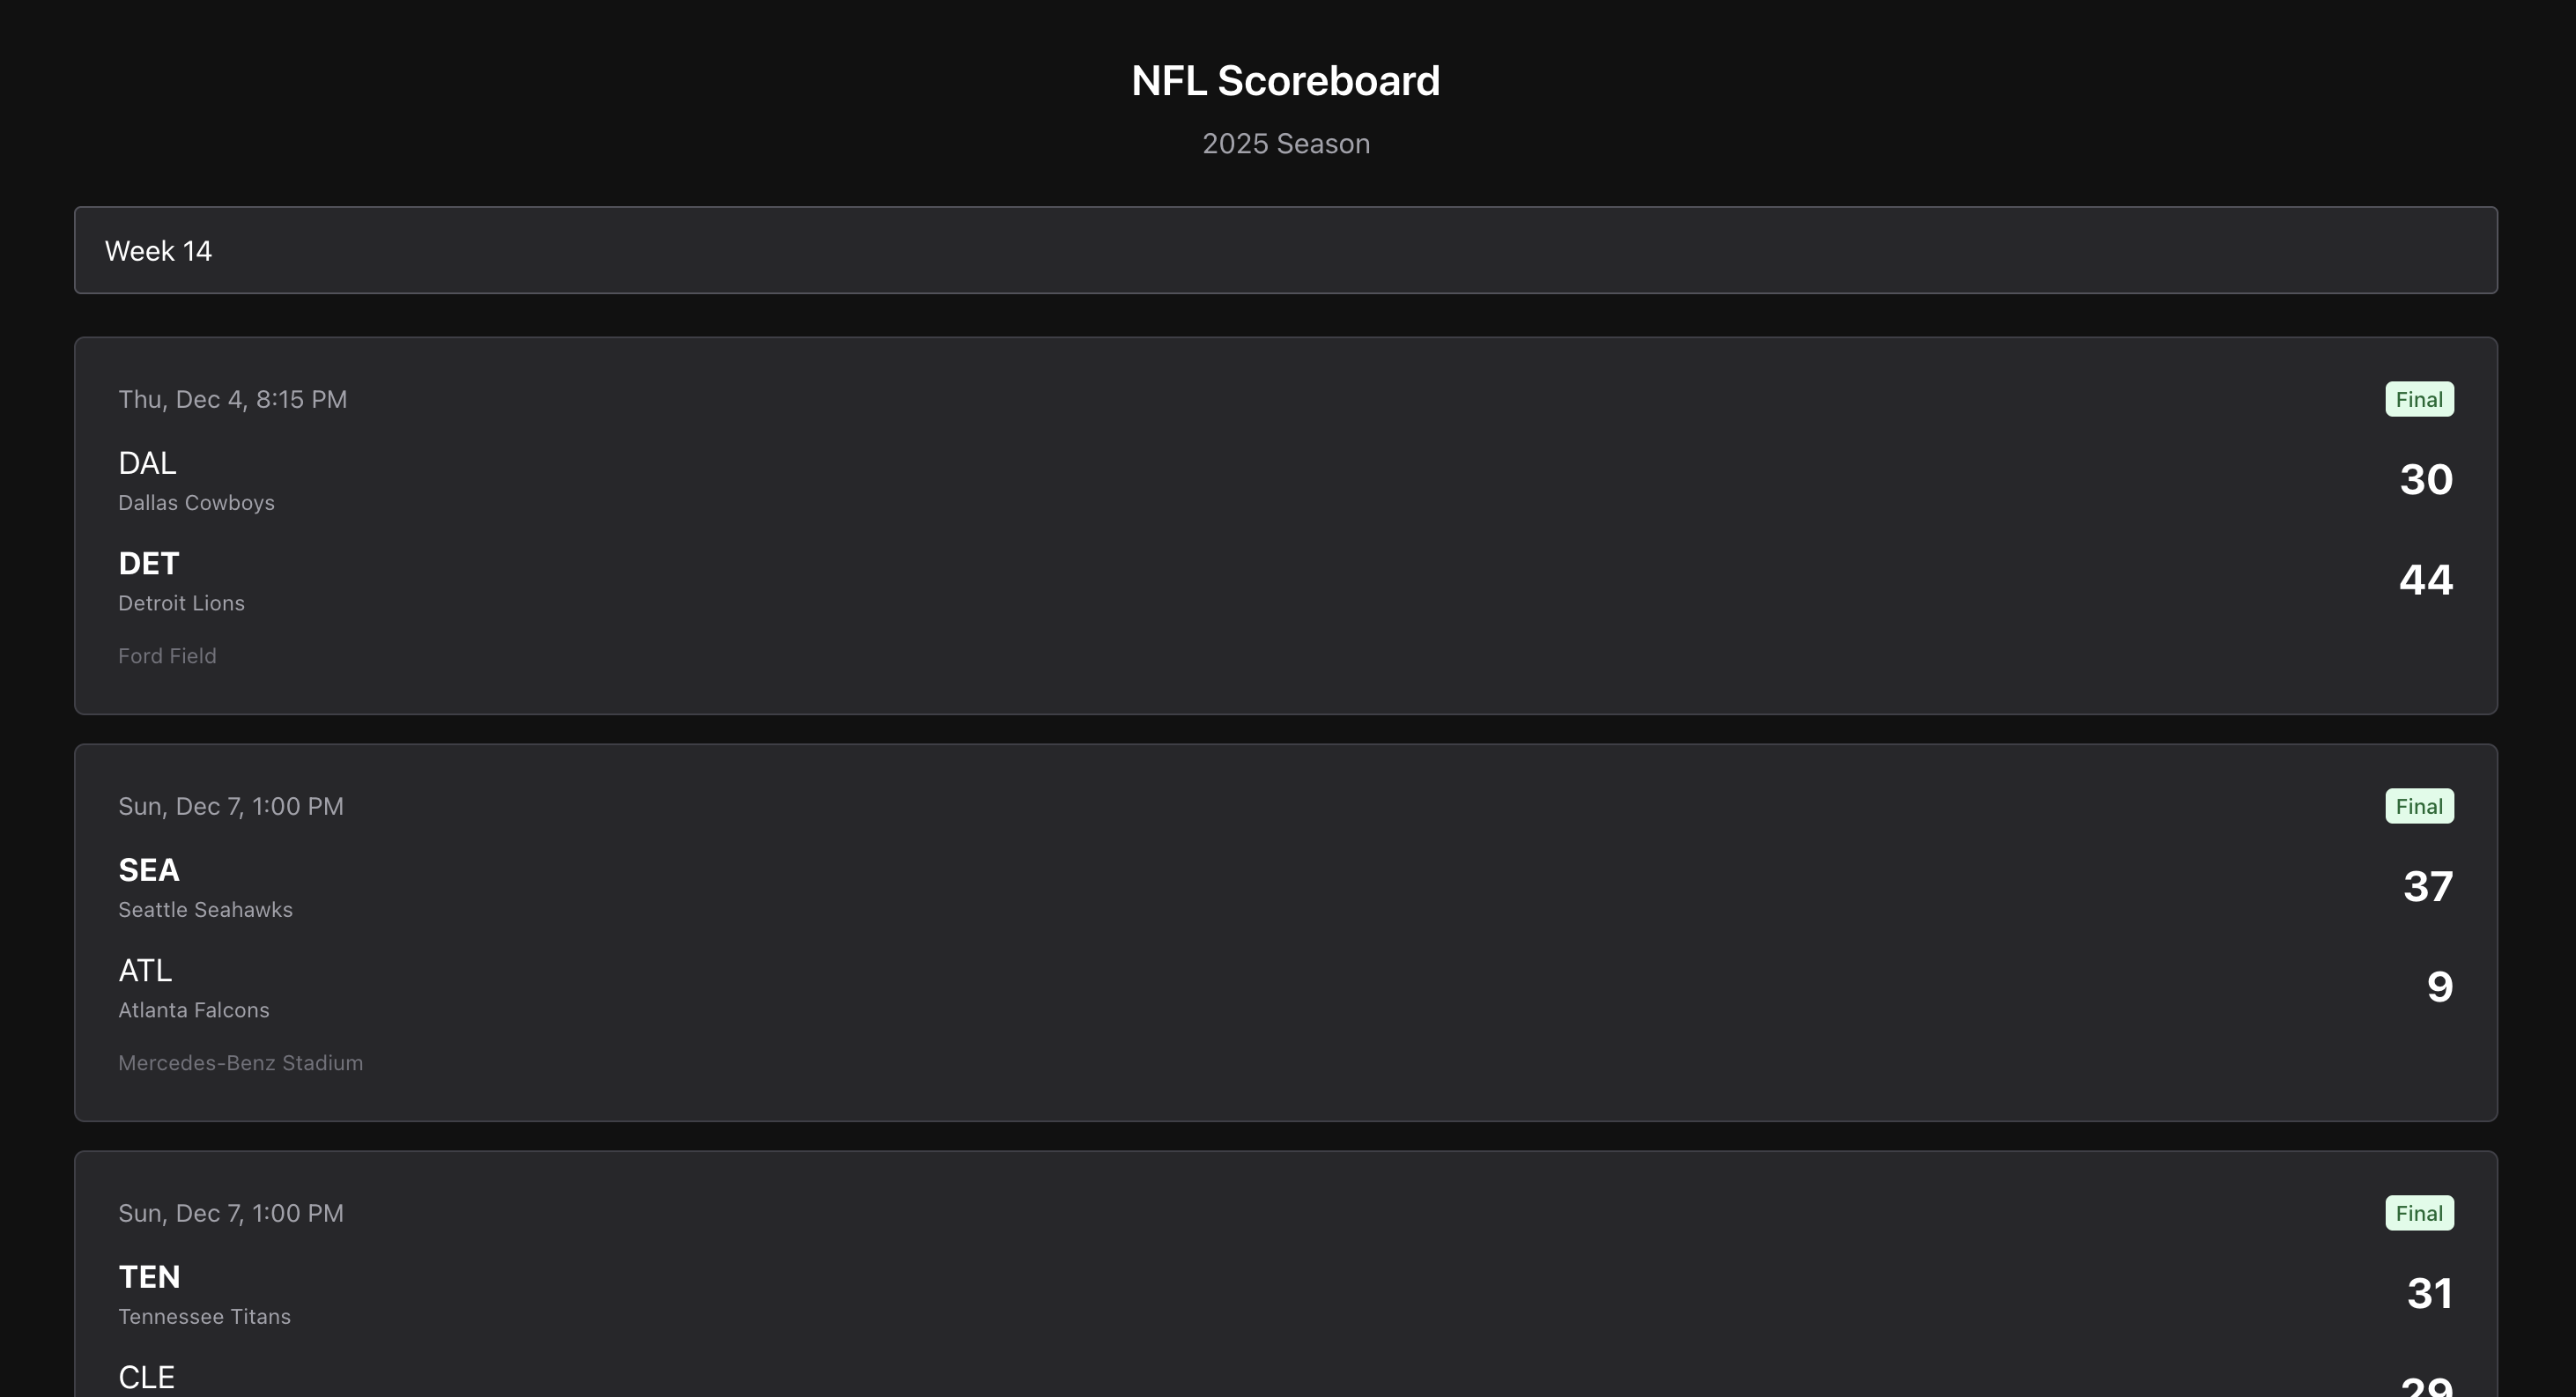
The component uses a dark theme with gray.800 cards on a gray.950 background. It highlights the winning team's name in bold once the game is final, and displays the game status as a colored badge.
Step 5: Create the Week Selector
Chakra UI's Select component needs a collection of items. The NFL regular season has 18 weeks:
import { Select, createListCollection } from "@chakra-ui/react";

const weeks = createListCollection({
  items: Array.from({ length: 18 }, (_, i) => ({
    label: `Week ${i + 1}`,
    value: String(i + 1),
  })),
});
Step 6: Build the Main App Component
Now wire everything together. The main component fetches games when the selected week changes:
import { useState, useEffect } from "react";
import {
  Box,
  Container,
  Heading,
  Text,
  VStack,
  HStack,
  Card,
  Spinner,
  Select,
  createListCollection,
  Badge,
} from "@chakra-ui/react";

function App() {
  const [games, setGames] = useState<Game[]>([]);
  const [loading, setLoading] = useState(true);
  const [error, setError] = useState<string | null>(null);
  const [selectedWeek, setSelectedWeek] = useState("14");

  useEffect(() => {
    const fetchGames = async () => {
      setLoading(true);
      setError(null);

      try {
        const response = await fetch(
          `https://api.balldontlie.io/nfl/v1/games?seasons[]=2025&weeks[]=${selectedWeek}`,
          {
            headers: {
              Authorization: "YOUR_API_KEY",
            },
          }
        );

        if (!response.ok) {
          throw new Error("Failed to fetch games");
        }

        const data: GamesResponse = await response.json();
        const sortedGames = data.data.sort(
          (a, b) => new Date(a.date).getTime() - new Date(b.date).getTime()
        );
        setGames(sortedGames);
      } catch (err) {
        setError(err instanceof Error ? err.message : "An error occurred");
      } finally {
        setLoading(false);
      }
    };

    fetchGames();
  }, [selectedWeek]);

  return (
    <Box minH="100vh" bg="gray.950" py={8}>
      <Container maxW="container.md">
        <VStack gap={6} align="stretch">
          <VStack gap={2}>
            <Heading size="2xl" color="white">
              NFL Scoreboard
            </Heading>
            <Text color="gray.400">2025 Season</Text>
          </VStack>

          <Select.Root
            collection={weeks}
            value={[selectedWeek]}
            onValueChange={(e) => setSelectedWeek(e.value[0])}
            size="lg"
            positioning={{ sameWidth: true }}
          >
            <Select.Trigger
              bg="gray.800"
              borderColor="gray.600"
              color="white"
              _hover={{ bg: "gray.700" }}
            >
              <Select.ValueText placeholder="Select week" />
            </Select.Trigger>
            <Select.Positioner>
              <Select.Content bg="gray.800" borderColor="gray.600">
                {weeks.items.map((week) => (
                  <Select.Item
                    key={week.value}
                    item={week}
                    bg="gray.800"
                    color="white"
                    _hover={{ bg: "gray.700" }}
                    _highlighted={{ bg: "gray.700" }}
                  >
                    {week.label}
                  </Select.Item>
                ))}
              </Select.Content>
            </Select.Positioner>
          </Select.Root>

          {loading && (
            <VStack py={8}>
              <Spinner size="xl" color="blue.500" />
              <Text color="gray.400">Loading games...</Text>
            </VStack>
          )}

          {error && (
            <Box p={4} bg="red.900" borderRadius="md">
              <Text color="red.200">{error}</Text>
            </Box>
          )}

          {!loading && !error && games.length === 0 && (
            <Box p={4} bg="gray.800" borderRadius="md">
              <Text color="gray.400" textAlign="center">
                No games found for this week.
              </Text>
            </Box>
          )}

          {!loading && !error && games.length > 0 && (
            <VStack gap={4} align="stretch">
              {games.map((game) => (
                <GameCard key={game.id} game={game} />
              ))}
            </VStack>
          )}
        </VStack>
      </Container>
    </Box>
  );
}

export default App;
Replace YOUR_API_KEY with your actual BALLDONTLIE API key.
Step 7: Run the App
Start the development server:
npm run dev
Open http://localhost:5173 in your browser. You should see a list of NFL games for the selected week. Use the dropdown to switch between weeks.
Understanding the API Response
The /nfl/v1/games endpoint accepts these query parameters:
seasons[]- Filter by season year (e.g., 2025)weeks[]- Filter by week number (1-18 for regular season)team_ids[]- Filter by specific teamspostseason- Set totruefor playoff gamesdates[]- Filter by specific dates
Each game object includes:
- Team details with conference and division
- Quarter-by-quarter scores
- Overtime scores (if applicable)
- Game venue
- Status (scheduled time, "1st Qtr", "Halftime", "Final", etc.)
Extending the Scoreboard
This basic scoreboard can be extended in several ways:
- Add quarter-by-quarter scores: The API returns
home_team_q1,home_team_q2, etc. Display these in a table format. - Auto-refresh for live games: Add a polling interval during game time to update scores automatically.
- Team logos: Store team logos locally and display them based on the
abbreviationfield. - Filter by team: Add a team selector that uses the
team_ids[]parameter.
API Endpoints Used
This tutorial uses the NFL games endpoint:
GET https://api.balldontlie.io/nfl/v1/games
The BALLDONTLIE API provides comprehensive NFL data including:
- Player statistics - Passing, rushing, receiving stats for every game
- Team standings - Division and conference standings updated in real-time
- Betting odds - Lines from major sportsbooks including spreads, totals, and moneylines
- Advanced stats - Detailed rushing, passing, and receiving analytics
- Play-by-play data - Every play from every game
Check the full documentation for all available endpoints across NFL, NBA, MLB, NHL, EPL, WNBA, NCAAF, and NCAAB.
Next Steps
Now that you have a working NFL scoreboard, try these related tutorials:
- Compare betting odds across sportsbooks to find betting value
- Use AI to generate custom API scripts with our OpenAPI specification
Ready to build your own sports app? Sign up for a free API key and start building today.
Need help? Join our Discord community or check the documentation.